11 steps for better nighttime travel photography
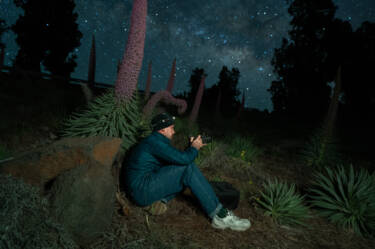
Sergio Diaz on his mission to La Palma – and how to elevate your travel stills
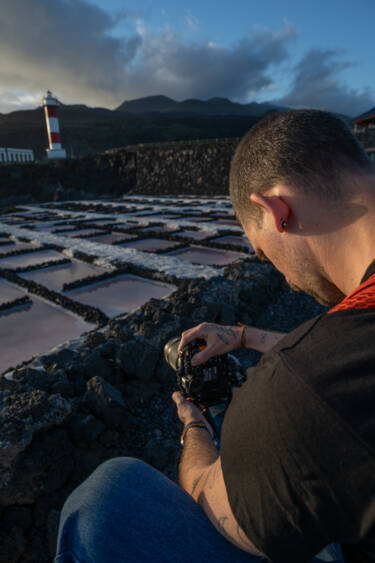
As a travel, astro and landscape photographer and videographer, I’m always searching for perspective and light contrasts to make an image or film feel alive. Recently, I headed to La Palma in the Canary Islands, armed with the Zf and Z5II, to capture night shots in Roque de Los Muchachos, the Los Tilos waterfall and the Fuencaliente Lighthouse.
I like to explore beyond what you find in the first Google or Instagram results. I often talk to locals, check hiking forums or use topographic maps to find less crowded spots. Roque de Los Muchachos, for example, caught my attention not only for its incredible views but because of that feeling of literally being above the clouds – it’s a landscape that transmits isolation and vastness. Los Tilos is amazing for its jungle-like, humid, almost magical atmosphere, which is totally different from the rest of the island. Fuencaliente Lighthouse offers a stunning contrast between black volcanic rock, the sea and the architecture, which allows me to play with textures and lines. I always look for places with their own energy, not just somewhere ‘Instagrammable’. But let’s get on with it! Below are my top tips for elevating your travel and astro stills.
What’s in my kitbag?
Step 1: Gather your gear
Camera
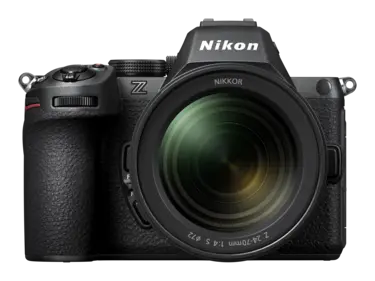
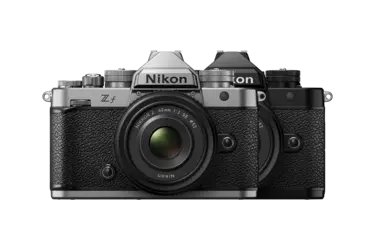
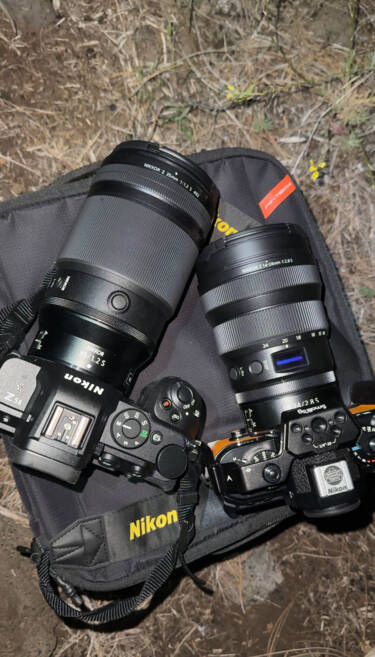
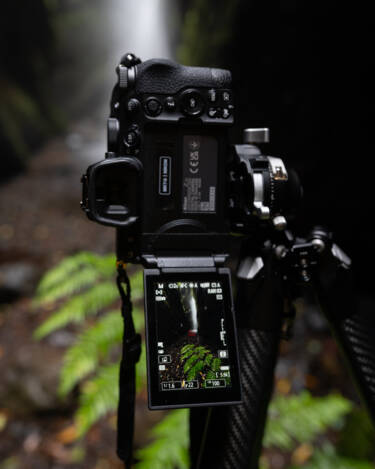
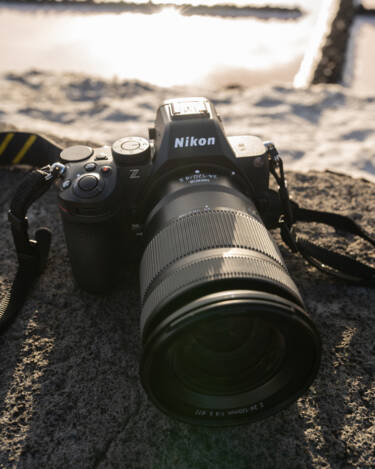
The aim of the trek was to test two Nikon Z cameras in real travel and low-light conditions. I was attracted to the Zf for its retro design and low-light performance, while the Z5II offered stability and efficiency for longer sessions. They complement each other very well.
Lessons in low light
The Zf, with its high ISO performance and precise focus, performed very well in extreme low-light conditions. I could easily adjust my settings without taking my eye off the EVF thanks to its retro design with physical dials – a fast and practical set-up, ideal for astrophotography. The Z5II was more conservative, but stable and reliable.
Dynamic range
Both cameras offer wide dynamic range, but the Zf has a slight edge in shadow recovery. I always capture in RAW and do minimal editing – mostly White Balance and shadow lifting, since I always underexpose slightly and adjust contrast later.
Custom controls
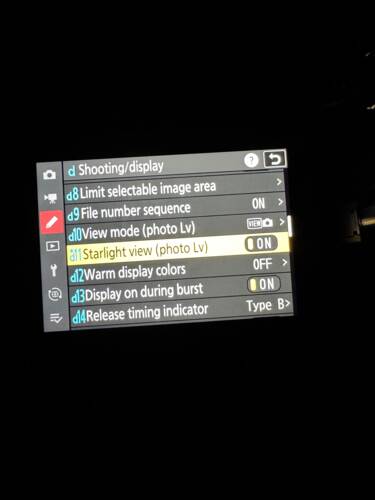
Make the most of your custom controls. I added Manual Focus and quick ISO/aperture adjustments to the Fn buttons and shortcuts for Starlight View and silent mode.
Lenses
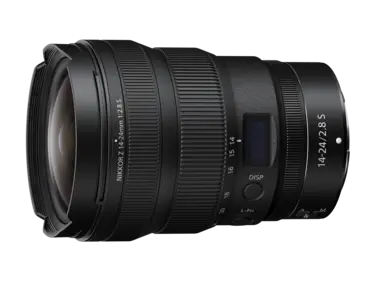
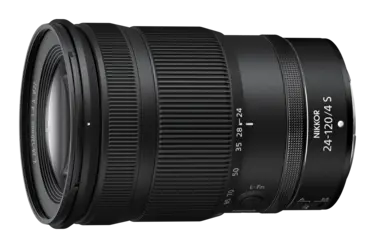
The NIKKOR Z 14-24mm f/2.8 S for landscapes, nightscapes, and sharpness in low light. The NIKKOR Z 24-120mm f/4 S for its pleasing bokeh and the new NIKKOR Z 35mm f/1.2 S for its explosion of light and clarity into the scene.
Accessories
- Carbon fibre Falcam tripod (lightweight and durable)
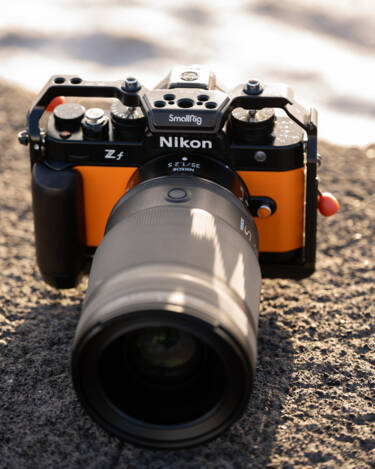
- Zf SmallRig camera cage for extra stability and accessory mounting
- Adjustable LED flashlight with warm light for precise nighttime lighting
- Waterproof boots for photographing while standing near waterfalls
- ND and polarising filters for daytime landscapes to create silky-smooth water effects
- Spare batteries (at least three per camera bodies for long night sessions) or a USB-C powerbank for external power supply
Step 2: Make travel a breeze
- Bring only the essentials: two camera bodies, key lenses (in my case, zoom lenses) and a lightweight carbon tripod, since you usually have to hike to the location
- Use a padded backpack (I prefer the PGYTECH OnePro)
- Carry batteries in your cabin bag if the airline permits (not checked luggage) and protect sensors with caps
- On flights, disassemble large tripods or check them in separately
Step 3: Make the most of Starlight View
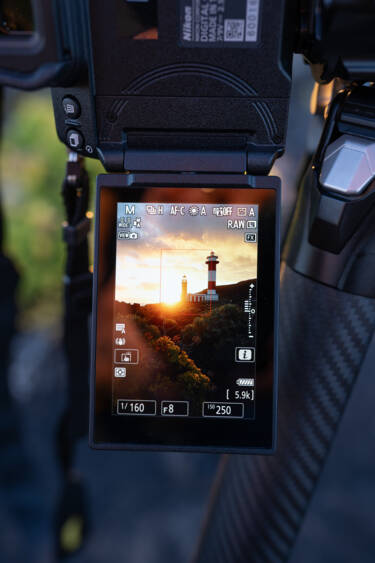
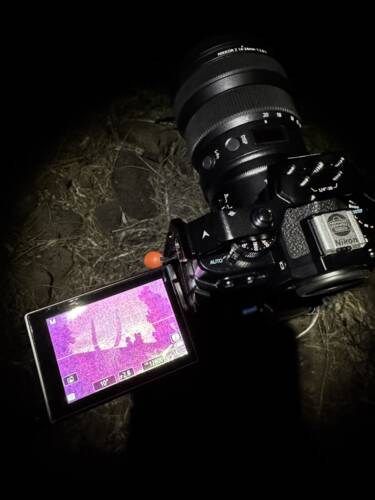
Starlight View makes focusing in low light a breeze. It enhances invisible details and less moving noise on the display. The viewfinder brightens significantly, even under dark skies, making it easier to focus on stars without relying solely on focus peaking or losing visual control of noise or shadow detail. It also helps distinguish stars from artificial light sources and prevents overexposure, while improving visibility in complex frames. It’s fundamental for balancing exposure without trial and error.
Z5II + NIKKOR Z 24-120mm f/4 S, 24mm, 1/160 secs, f/8, ISO 250, ©Sergio Diaz
Step 4: Add detail with layering
The story
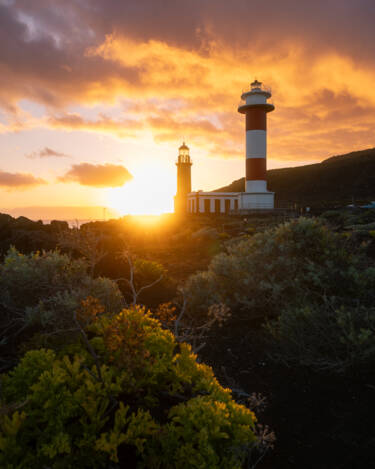
To frame the dramatic backlight between the setting sun near Fuencaliente Lighthouse and the fiery clouds while retaining detail in the foreground for added depth (above left).
The composition
I used a low angle, nearly ground level, to include local plants in the foreground and create a visual diagonal leading to the sun and the lighthouses. The composition is layered: vegetation in front, lighthouses mid-frame and dramatic sky in the background.
The settings
- Gear: Nikon Zf + NIKKOR Z 24–120mm f/4 S
- Focal length: 24mm
- Focus mode: Manual with focus peaking
- Aperture: f/8
- Shutter speed: 1/160 secs
- ISO: 250
- White Balance: Manual (~6000K) to enhance sky tones
- High ISO NR: off
- Histogram: exposed to preserve highlights; slightly clipped in the sun, but good shadow/mid-tone data
Step 5: Enhance with bokeh
The story
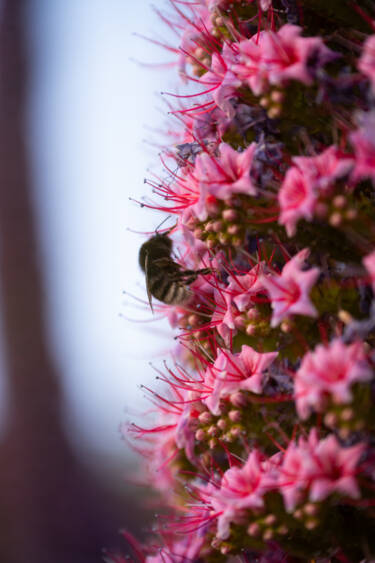
Taken at sunset in the highlands of La Palma, near Puntagorda, I aimed to capture the interaction between endemic flora (pink tajinaste) and a bee in full pollination (above right).
The composition
Capturing handheld, I used a wide aperture (f/4) to blur the background and isolate the insect.
The settings
- Gear: Nikon Zf + NIKKOR Z 24-120mm f/4 S
- Focal length: 120mm
- Focus mode: Manual focus
- Aperture: f/4
- Shutter speed: 1/80 secs
- ISO: 500
- White Balance: Manual, more cool
- High ISO NR: on (slight)
- Metering: Pattern
Step 6: Experiment with dual exposure
The story
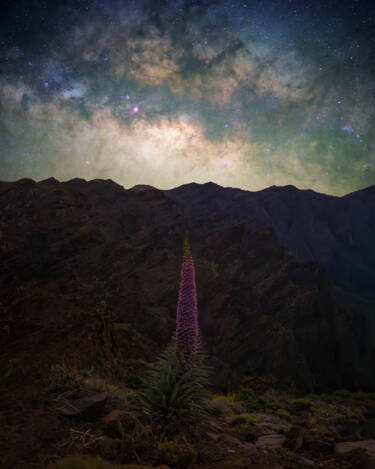
The idea? To align a red tajinaste flower in bloom with the galactic core (above left). Taken in Caldera de Taburiente National Park on a clear, moonless night.
The composition
Tripod + dual exposure (sky + foreground illuminated with a small, warm flashlight). The flower was centred vertically, echoing the Milky Way.
The settings
- Gear: Nikon Zf + NIKKOR Z 35mm f/1.2 S
- Focal length: 35mm
- Focus mode: Manual focus + Starlight View + Peaking
- Aperture: f/1.4
- Shutter speed: 15 secs (sky), 30 secs (foreground)
- ISO: ISO 3200 (sky), 1600 (foreground)
- White Balance: 3800K
- High ISO NR: on
- Histogram: no blown highlights, preserved shadows. Later blended in Lightroom
- Remote trigger: SnapBridge
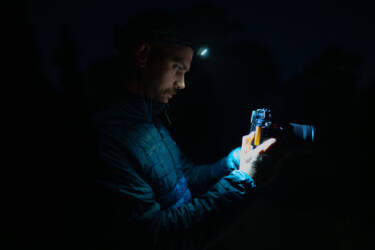
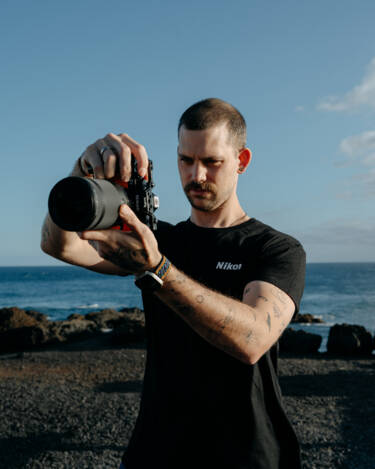
Sergio in action
Step 7: Plan ahead
The story
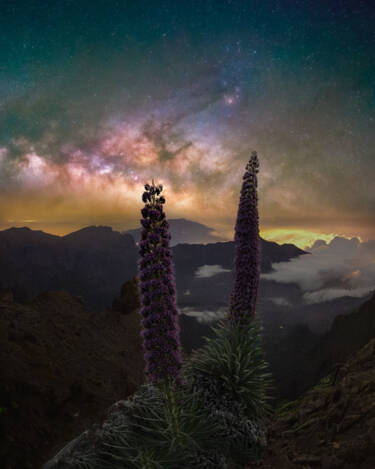
Blending blue hour with the start of a starry night, the amber glow (the image above the photo of Sergio) on the horizon is a result of considerate planning.
The composition
The tajinaste flowers create vertical lines that contrast with the horizontal core of the Milky Way, the photo once again achieves depth through layers: foreground tajinastes, middle-ground mountains and background sky.
The settings
- Gear: Nikon Zf + NIKKOR Z 14-24mm f/2.8 S
- Focal length: 14mm
- Focus mode: Manual, with magnified view for precision
- Aperture: f/2.8
- Shutter speed: 10
- ISO: 6400
- White Balance: 3800–4200K
- Noise reduction: Disabled (noise cleaned up during editing)
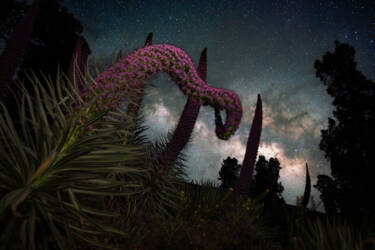
Zf + NIKKOR Z 14-24mm f/2.8 S, 15 secs, f/2.8, ISO 6400, ©Sergio Diaz
Step 8: Consider your framing
The story
This image (above) conveys a deeply intimate connection between the volcanic landscape and La Palma’s night sky. The dramatic curve of the tajinaste turns it into an almost mythical figure, standing out against the galactic core.
The composition
Camera positioned low to exaggerate the tajinaste’s curvature, with an LED light used to illuminate the foreground.
The settings
- Gear: Nikon Zf + NIKKOR Z 14-24mm f/2.8 S
- Focal length: 14mm
- Focus mode: Manual + Focus Peaking (in Live View)
- Aperture: f/2.8
- Shutter speed: 15 seconds (to avoid star trails)
- ISO: 6400
- White Balance: Custom (3400–3800K)
Step 9: Add scale
The story
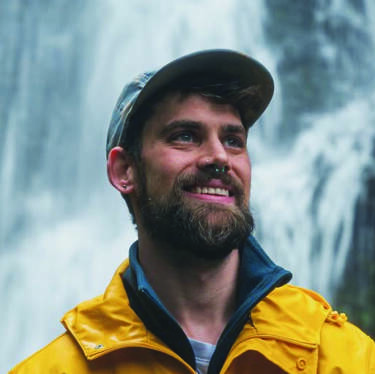
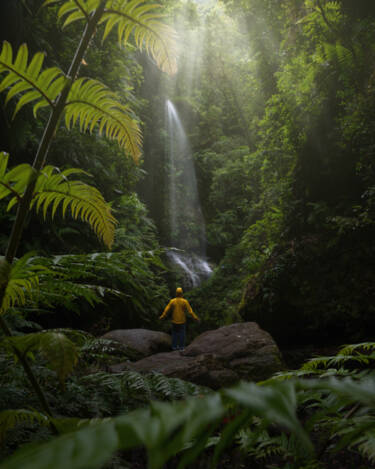
The aim (of the image above) is to convey peace and a connection with nature, while adding myself into the scene to add scale and contrast.
The composition
Blurred leaves frame the image and lead the eye towards the subject and the waterfall, while the ambient filtered sunlight shines through the canopy.
The settings
- Gear: Nikon Z5II + NIKKOR Z 24-120mm f/4 S
- Focus mode: AF-S with single point focus on the subject
- Shutter speed: 1/6 secs (slight motion blur in the falling water)
- ISO: 100
- Aperture: f/22 (to balance depth while keeping some background blur)
- White balance: Shade
- Noise reduction: enabled (but minimal due to low ISO)
Step 10: Get down low
The story
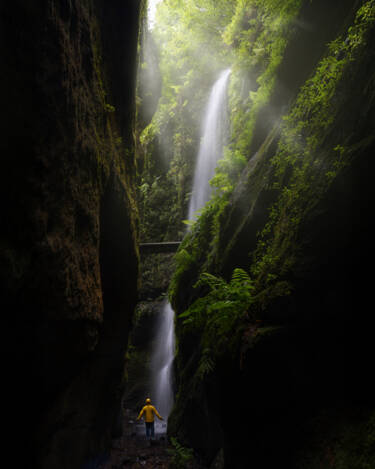
Mist and diffused light create a mystical atmosphere, while the yellow jacket acts as a visual anchor (above left).
The composition
Shot low on the ground, vertical lines create a romantic painting-like effect. The light entering from the canyon top mimics a natural softbox.
The settings
- Gear: Nikon Zf and NIKKOR Z 14-24mm f/2.8 S
- Focal length: 18mm
- Focus mode: AF-S with Live View magnification
- Aperture: f/8
- Shutter speed: 1/6 seconds. Just slow enough to smooth water flow, while keeping the subject sharp
- ISO: ISO 200
- White Balance: Custom mode, around 5100K to 5500K, preserving the green tones of moss while keeping the yellow jacket natural
- Histogram: avoids highlight clipping in water and sky – histogram likely slightly skewed to the left (dark areas), with a small peak in the highlights (waterfall and light rays)
- Noise reduction: disabled
Step 11: Edit in post-production
Basic adjustments
- Exposure: Balanced per image, slight increase in shadows to recover dark areas without losing atmosphere
- Highlights: Reduced, especially in waterfalls and skies, to preserve texture
- Contrast: Slight increase to add depth, but without crushing blacks
- Whites and blacks: Calibrated using the histogram to avoid clipping
Presence
- Texture: Increased moderately (+10 to +20) to emphasise rock and moss details
- Clarity: Slightly increased in some shots (+5 to +10) for mid-tone contrast
- Dehaze: Applied selectively to cut through mist without losing softness
Tone curve
- Custom S-curve in most images
- Soft lift in shadows and slight compression in highlights for a cinematic look
Colour grading
- HSL panel: Adjusted to enhance greens in the forest, blues in skies, and reds/magentas in tajinastes
- Split toning (colour grading):
- Shadows with cool tones (blue/purple ~230°)
- Highlights with warmer hues (yellow-orange ~40–60°) for visual balance
- Vibrance: +15 to +25
- Saturation: Minimal overall changes, colour enhanced via selective edits
Crop and alignment
- Applied in some images for composition refinement
- Vertical correction in forest scenes to preserve natural lines
Selective retouching
- Subject isolation: Luminosity masking or radial filters to emphasise the subject in waterfall scenes
- Sky replacement or enhancement:
- Exposure blending for Milky Way and tajinaste shots – foreground and sky combined from two exposures
- Milky Way enhanced using selective contrast and clarity (not overdone)
- Dodge & burn:
- Manual dodging on subject and light areas to guide the eye
- Burning on edges and shadows to add depth and isolate the focal point
- Sharpening and final touches:
- Output sharpening adjusted for web or print
- Exported in high resolution with careful noise control and no halo artifacts
Keep up with Sergio’s adventures here.
Capturing at night
Featured products
Discover the Nikon Z5II
For limitless creativity
